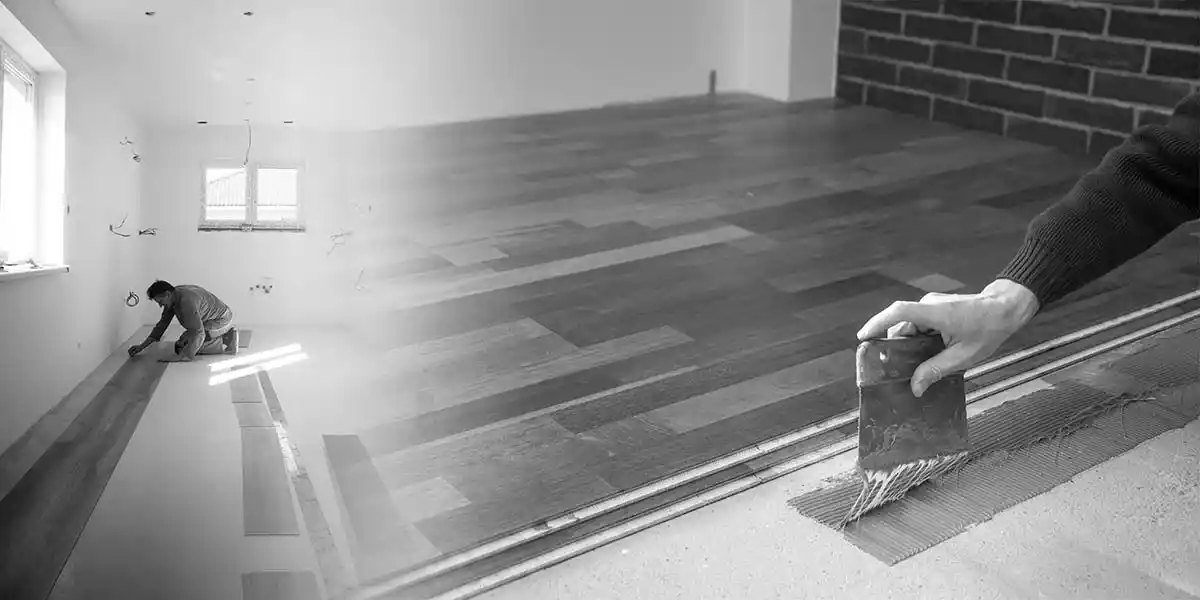
Are you thinking of installing laminate flooring in your home? So, you should first consider whether you can install it over the existing concrete floor. Why?
Installing a laminate floor on top of a concrete subfloor doesn’t always result in a perfect finish. There is moisture in most concrete subfloors, and if it isn’t properly sealed. It can cause problems with your new laminate floor.
So, when you install a laminate floor on top of a concrete subfloor, you have two options. The first is to overlay the concrete with plywood.
Another is to level the concrete floor for installing laminate flooring. It protects from moisture and creates a smooth surface for the laminate to rest on.
If you choose to level the concrete floor. Read this article to learn how to level a concrete floor for laminate flooring.
Also, leveling the subfloor provides the perfect foundation for your new flooring.
Usually, it would be better to hire a professional for this work. Still, if you’re good at DIY, you can level a floor yourself using the directions below. Your home may need professional help if there are high or low spots or if termites are present.
Prepare the Room for Leveling Before you Begin
Before you begin leveling the concrete floor, you should prepare the room for leveling. There are a few things to do, such as:
- Take out the Furniture and Appliances: If furniture or appliances are in your room, move them out. As a result, you won’t be interrupted in leveling your floors.
- Clean the floor Thoroughly: Before leveling the floor, it is recommended that you thoroughly clean the floor.
- Protect Your Walls From Liquid Concrete: When mixing liquid concrete on your floor. Cover the walls with paper or disposable polythene.
- Make Use of Safety Measures: Finally, take safety precautions before working. Protect your eyes, face, and hands by wearing masks, gloves, and eyewear.
How to Level a Concrete Floor for Laminate Flooring?
Step 1: Gather All the Supplies Needed
The first step is gathering all the necessary materials and equipment for the job. Below you will find a list of all the required supplies. Don’t neglect these items; you may damage the floor if you don’t have them all on hand.
- Face mask and eye protection
- Concrete grinder
- Vacuum
- Metal scraper tool
- Caulk & caulking gun
- 4 to 6-foot-long level
- Masking tape
- Five-gallon bucket
- Primer
- Concrete Mixer
- Concrete Self-Leveling Compound
- Long-handled squeegee
- Floor Roller
- Five-gallon bucket
Step 2: Grind All Bumps Away
The floor may have high spots that make it uneven. You must remove these high spots to make the floor look smooth and even.
You can use a concrete grinder to remove these rough high spots. When grinding or repairing a concrete floor, you should wear a respirator. It protects you against concrete dust.
A dust mask will not be enough, so you should use a dust collector if possible. Besides, make sure you check the level of the concrete floor as you grind it.
This step might make a bit of noise, but it makes a smoother surface for your laminate flooring.
Step 3: Repair All Cracks and Holes
Besides high spots, cracks, and holes contribute to uneven subfloor.
Consider using caulk or leveling compound to fill these cracks and holes. Once you have filled in all the holes and cracks with the compound, let it harden.
Don’t forget that it needs to be bone dry before you can proceed. If you proceed to the next steps without giving it enough time to dry, it can lead to mold and mildew growth. This is because moisture under the laminate can cause this problem.
Step 4: Seal All Openings
After grinding high spots and filling cracks and holes, check the floor’s level. If any imperfections remain, you should fix them.
Next, apply masking tape between the floor and walls. It prevents leaks of the self-leveling compound.
Then, cover the wall with a long piece of paper. It prevents splashes of the self-leveling compound from damaging it.
This step might seem small but it plays a big role in the long-lasting beauty of your floors.
Step 5: Prepare The Primer and Apply It
Once you’ve covered your walls and openings, it’s time to apply a primer. In this way, the self-leveling compound is best connected to the concrete surface.
So, mix the primer solution with half a bucket of water and apply it to the subfloor with a long-handled roller. Apply many layers of primer to ensure the best possible connection.
Step 6: Apply Self-Leveling Compound
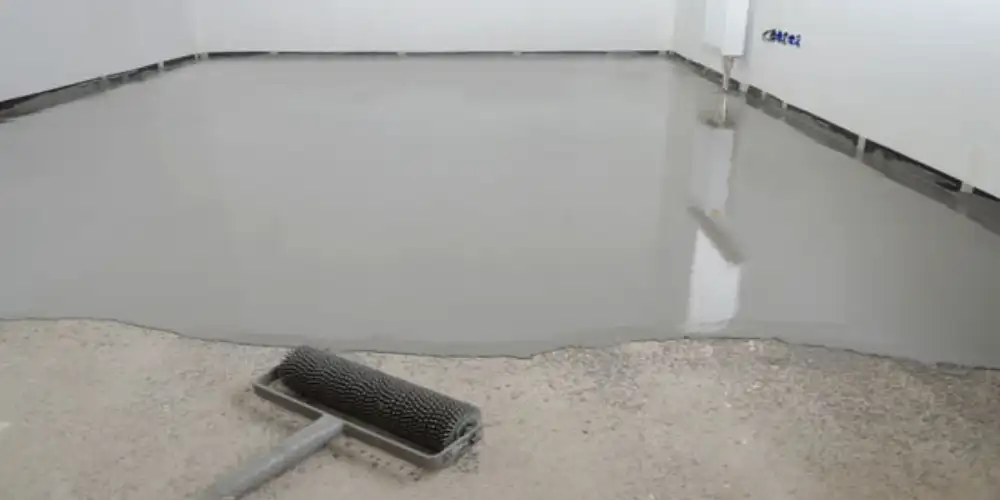
Next, as a final step, add the self-leveling compound and water to a five-gallon bucket.
And mix it well with a concrete mixer. Ensure you make the solution thicker and then pour it on the floor. Then, with a long-handled squeegee, spread it all over the floor and leave it to dry for 24 hours.
Floors are flat and ready for laminate spotlights with this self-leveling mixer.
The next day, apply another layer of primer and repeat the same process. But do not thicken the self-leveling solution this time. Then roll it out with a roller to ensure it is spread across the entire floor even and smooth.
Step 7: Install the Lamination and Underlayment
Once the concrete floor is ready, you can install the beautiful laminate flooring.
There is only one thing you need to do. After the floor has completely dried, remove the masking tape and paper from the walls.
FAQ’s: Level a Concrete Floor For Laminate Flooring
Do all laminate floors need underlayment?
No, not all laminate floors need underlayment. Only laminate floors should be underplayed on high-moisture concrete slabs.
Also, many believe that laminate floors only need a single layer of underlayment, but this is not true. In reality, there are generally two layers of underlayment necessary for laminate floors.
The first layer of underlayment should be an adhesive-type material that adheres to the subfloor. The second layer should be a non-adhesive felt pad for noise reduction purposes. This type of pad does not have any adhesive properties, and it is used solely for soundproofing.
How do you fix an uneven concrete floor?
To level an uneven concrete floor, grind all bumps, fill cracks, and apply primer and self-leveling compound. Let it cure, inspect for any unevenness, and repeat if needed. To read a brief overview, please refer to the guide mentioned above.
Can you install laminate flooring on uneven concrete?
Installing laminate flooring on uneven concrete is possible, but it is not recommended. Many factors can contribute to uneven concrete. One of them is the level of moisture and the curing process.
This issue can be balanced by using a concrete impregnator. Which will not work even if more moisture is absorbed.
Bumps and cracks can also cause uneven concrete. You can fix this problem by leveling your floor. To do so, follow the step-by-step instructions above.
Bumps and cracks can also cause uneven concrete. You can fix this problem by leveling your floor. To do so, follow the step-by-step instructions above.
Does the floor have to be perfectly level for laminate?
No, the floor does not have to be perfectly level for laminate. The floor needs to be level enough. So there are no visible bumps and cracks or changes in height across the span of the laminate surface.
Read More on Laminate Floors
- Laying Laminate Flooring: 13 Common Mistakes to Avoid!
- Can I Use Laminate Flooring On Walls? (Installation Guide Included)
- Does Laminate Flooring Make Your House Colder? (Explained)
- Can You Nail Down Laminate Flooring? (Answered)
- 9 Best Ways to Keep Rugs From Slipping on Laminate Floors (Must-Try!)