We all want a perfect combination of style, durability, and affordability for our home decor.
And as we all know laminate flooring is a durable option that can withstand heavy foot traffic.
And it is resistant to scratches and dents. It is also easy to install and maintain, requiring only regular vacuuming and mopping.
But, sometimes many people ask a question: Can I use laminate flooring on the walls?
Yes, you can use laminate flooring on walls. The installation process on the wall is like the floor. But you have to include construction adhesive and brad nails in the budget.
On bumpy walls, laminate flooring will bulge outward.
Which is both problematic and ugly. If you want a traditional and wealthy-looking finish. That provides a rustic, coastal, and accent feel to the space. So wood laminate is your best option.
Recently, this style has become hugely popular in farmhouses and is known as shiplap.
Compared with hardwood or wood pallets, this style is smoother and more budget-friendly.
Things to Consider Before Installing Laminate Flooring on Walls
#1 Width and Thickness
Wood laminate is available in different styles and patterns. But it depends on the installation mechanism, thickness, and size.
So, selecting a wood laminate that works well in vertical applications is recommended.
Well, you have to consider the width and thickness of the plank.
Because plank thickness and size can positively or negatively affect space aesthetics. So, the best laminate flooring for walls is lightweight and without padding.
Furthermore, it would be best if you hadn’t underneath-padded planks. Because on the wall, there’s no foot traffic and ground element impact to withstand.
#2 Purpose of the Space
Before using laminate flooring on the wall, please consider the purpose of the room where you are installing it.
It also requires you to check the style of the space in general.
For instance, if you intend to enhance the space’s aesthetic. So, you should consider the texture, style patterns, and color of the laminate flooring.
Yet, installing laminate flooring on the wall is useless if the room’s purpose involves moisture. Because laminate flooring is sensitive to moisture and temperature variations. So, it affects its resilience with time.
Knowing the purpose helps you decide how to set it up and what things to put in there. Plus, you ensure it fits your needs and makes you feel comfortable.
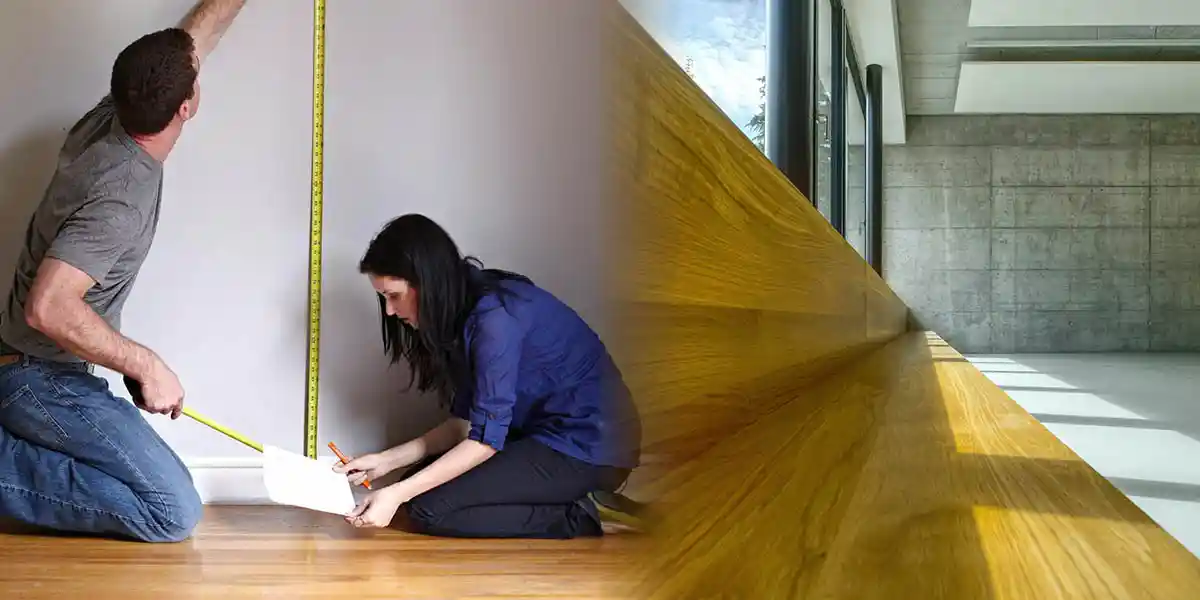
#3 The Wall Dimensions
The wall dimensions are crucial considerations for installation.
They provide the budget insight to ensure your project is successful. As a result, you will know the installation cost and how many panels will be enough for the entire project.
To stay within budget and the number of planks required, always add 10% more to the length and width of the room. Because there is always some loss during installation while cutting the boards.
So, ensure you measure the wall. Then, calculate how many square feet are needed, add the 10%, and then round up to make full packages.
Also, the wall dimensions help you make sure everything fits and looks good.
#4 Installation Mechanism
Not all types of laminate flooring installation can work better on the wall.
The tongue and groove edge laminate provides a straightforward installation process. And it works well on wall applications. Even if you reverse the pieces, the installation process is still simple.
An interlocking plank system can also work, but you must be careful while arranging them. Because it does not work well if the pieces are reversed, unlike the tongue and groove system.
#5 The Condition of the Wall
The elegance of the laminate flooring on the walls is more precise when the wall is both flat and smooth.
So, before installing the planks on the walls, ensure you get rid of unevenness or bumps on the walls. Also, check for water damage and carry out any necessary repairs to prevent future damage.
If the wall is in good shape, it’s like a smooth surface to be ready for your project.
Lastly, the wall should be clean and free of flaking paints, paneling, and wallpaper.
7 Easy Steps to Install Laminate Flooring on Walls
Supplies Needed:
- Brad’s nails
- Pry bar/Trim
- Thin laminate planks
- Table Saw
- Construction Adhesive
- Caulk Gun
- Nail Gun
- Measuring Tape
- Stud Finder
- Pencil
- Air Compressor
- Safety Glasses
- 1/4″ shims (for expansion gap)
- Utility Knife
- Laser Level
Step 1: Acclimating the Laminate Planks
Before installation, you should acclimate the planks for about 48-72 hours. This familiarizes planks with the temperature and humidity of the room.
Then, spread them out, let them cool, and when you’re ready to roll them. Also, make sure you follow the manufacturer’s acclimating guide period.
Also See: How to Choose Laminate Flooring: A Buyer’s Guide
Step 2: Prepare the Wall
While waiting for the limited time to finish, prepare the wall you want to cover with wood laminate.
Prepare the wall by checking for flat and smooth surfaces.
Plus, arranging expansion gaps around the perimeter, and locating wall studs. If you cannot locate studs on your wall, use a stud finder to find them and then mark their locations with a chalk line.
Then, smooth out any bumps or rough spots. A clean and smooth wall is the perfect starting point.
Step 3: Getting Visual Insight on Plank Arrangement
Before you start arranging the plank on the wall, lay out the planks on the floor.
But, you feel are visually appealing. It will help you get a visual insight into how they will look on the wall.
Step 4: Loading both the Nail Gun and Caulk Gun
Now, it’s time to insight into how to arrange them on the wall. Well, load your nail gun, cut off the tip of the construction adhesive, and then load it in the caulk gun.
Once they’re loaded and ready, you’ll be all set to install a laminate floor on the wall.
Step 5: Installing the Planks on the Wall
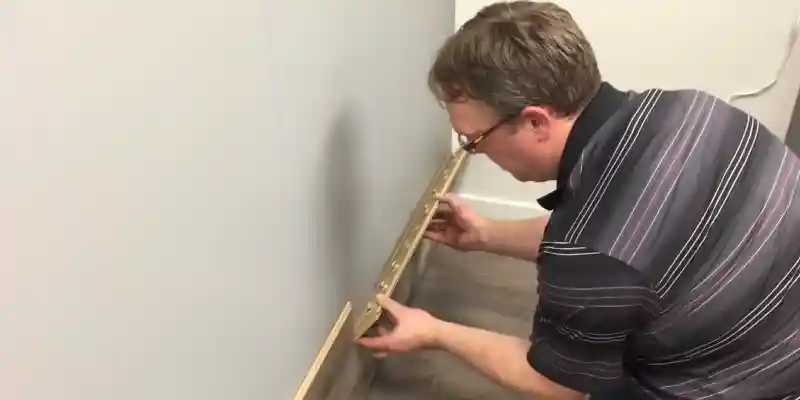
Well, it’s time to install, so take your prepared laminate planks and start sticking them on the wall.
Start by applying construction adhesive in a repeating letter S pattern to the back. Then arrange it starting at the bottom left of the wall.
Ensure you leave a ¼-inch gap above the floor or the expansion gap. You had initially placed a ¼-inch between the wall and the edge of the laminate.
Next, press into the hole on the wall, face-nail, and blind-nail the board through the hole. At the end of the stud, make sure the nail is low enough for adequate trim coverage.
Repeat this process until the bottom row is complete. And make sure you leave ¼ between the wall and the laminate end.
Step 6: Continue Installing the Adjacent Rows
In the second row, it is recommended to start with longer or shorter planks than in the first row. It will give you a more secure structure and an attractive pattern arrangement.
When arranging the adjacent rows until the ceiling, follow the steps in step 5. If the plank is big, split the laminate horizontally and leave a 14″ expansion gap on the top row.
You should also blind-nail the rest of the installation through the groove at the stud.
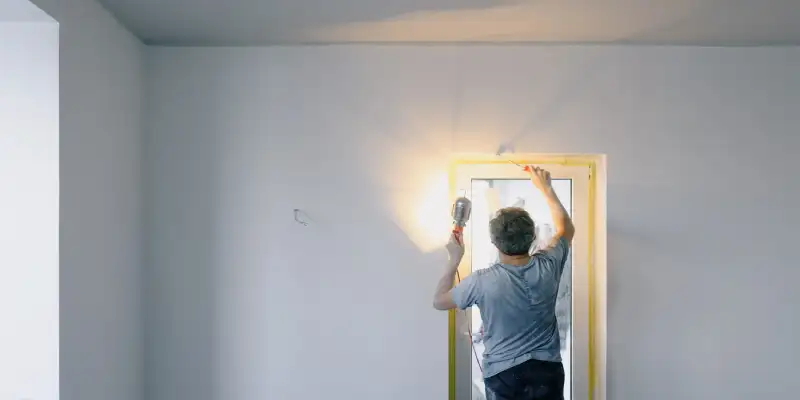
Step 7: Trim
Lastly, use Brad Nail to add trim work along the base of the wall. And around the windows or doors to hide plank edges and create a smooth finish.
After installation, clean your wood laminate walls with damp, lint-free clothing. Plus, regulates the temperature and humidity. Do not drive nails into the laminate wall.
Read More on Laminate Floors
- Laying Laminate Flooring: 13 Common Mistakes to Avoid!
- Does Laminate Flooring Make your House Colder? (Explained)
- Can You Nail Down Laminate Flooring? (Answered)
- Can You Use Goo Gone on Laminate Flooring? (Explained)
- A Guide to Remove Sticky Residue from Laminate Flooring