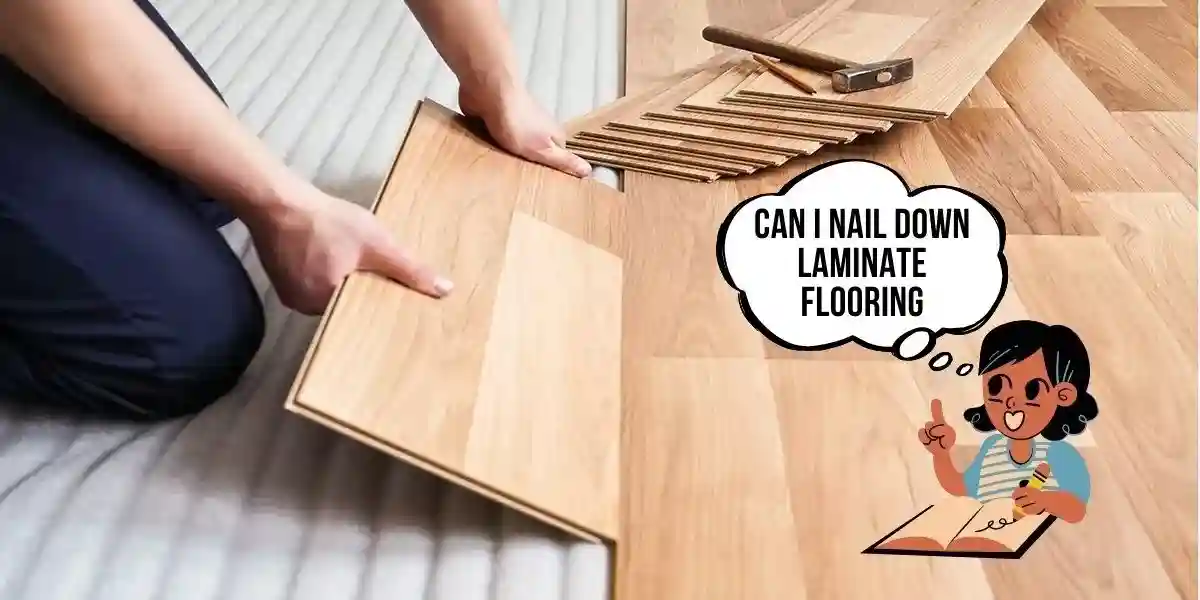
Laminate flooring is one of the easiest types of flooring. You can install it by yourself only if you follow the manufacturer’s instructions. Since laminate flooring mimics hardwood flooring, you may be tempted to nail it to the subfloor.
Also, the urge to nail it down can be connected to the fact that you are still a beginner. But, can you nail down laminate flooring?
No, you shouldn’t nail down laminate flooring. As laminate flooring contracts and expands, it creates structural weak points. So, its results are further problems; such as gapping, peaking, chipping, and delamination.
Remember, don’t tamper with your laminate flooring warranty. And take full advantage of the investment.
Continue reading to learn why you shouldn’t nail down laminate flooring. And what the proper way is to lay laminate flooring.
You Might Like: Laying Laminate Flooring: 13 Common Mistakes to Avoid!
Why You Should Not Nail Down Laminate Flooring?
Laminates are manufactured from pressed fiberboard products laminated with a plastic film. It provides an aesthetic appearance. They also support the fibreboard underlayment structurally.
Since laminate flooring is a floating floor, it is not recommended to nail or glue it to the subfloor. Because it expands and contracts according to indoor temperature and humidity levels.
The contraction and expansion processes are completely disrupted. So nailing or gluing it down damages the floor’s integrity.
Besides, the laminate flooring is composed of multiple layers, including a core layer made of fiberboard. Nailing can cause the boards to split or crack, leading to structural instability.
Furthermore, nailing down laminate flooring may create a noisier and less comfortable surface underfoot. The flexibility of a floating floor helps absorb sound. And provides a more comfortable feel compared to a rigidly nailed-down installation.
Also, it will void the warranty of the product. So, you should avoid/refrain from nailing or gluing laminate flooring.
What Happens When Laminate Flooring is Nailed Down?
Gapping
Nailing down laminate messes with its natural flexibility. As the floor expands and contracts with temperature changes. You might start seeing gaps between the planks.
So, the planks will expand as the temperature increases. But they won’t contract freely against each other as the temperature drops. This creates gaps at the joints of the adjacent planks.
These gaps can mess with the smooth look of your flooring, leaving spaces that you didn’t plan for. So, if you want a floor that looks good and remains gap-free, it’s best to let that laminate float and serve its purpose.
Must See: How to Fix Gaps in Laminate Flooring? (5 Best Ways)
Chipping
Laminate flooring is like a puzzle, and the pieces fit together snugly. As the planks contract and expand, they will flex over time because they provide a bit of a give when you walk on them.
Over time, this will expose the nails, resulting in chipping and peeling around the nail holes.
So, the chipping will spread to other planks. Since the holes will become larger and loosen the joints. As a result, it compromises the stability of the entire flooring.
Must See: 7 Best Ways to Fix Peeling Laminate Floor (Must-Try!)
Delamination
So, a chipped surface will peel off the plastic coating (laminate) and begin where the nails are nailed. It will spread further due to friction when you walk on it.
Removing the laminate makes the planks likely to be affected by dust, debris, and humidity. Since the laminate provides resistance to water and scratches.
Also, nails can weaken the bond between the layers of your laminate, causing them to separate. It’s like your floor is coming undone, one layer at a time.
Peaking
Peaking in laminate flooring is caused by insufficient room for expansion. So, nailing down the laminate flooring eliminates the expansion gap around the floor.
It causes the edges of the panels to push against each other. This creates pinches and high points in some floor areas.
Also, nails can mess with the flat surface, creating these raised points. It’s not a good look, and it can make your floor feel uneven.
Besides, it will cause joint failure and permanent warping and buckling of the planks.
Damping
Gluing or nailing down the planks will create an airtight floor. And making it difficult for moisture to escape.
As a result, moisture will accumulate under the flooring. It causes damage to the laminate and underlayment.
Besides, glue contains toxic chemicals such as polyethylene and polypropylene.
Must See: How to Dry Water Under Laminate Flooring? (A Step-By-Step Approach)
The Best Way to Install Laminate Flooring
Step 1: Acclimating the Laminate Flooring
Laminate flooring must have ample time to adapt to indoor environmental conditions. Ensure that the planks are laid out flat and allow them to rest for 48 hours in the room.
This helps it adjust to the temperature and humidity of your space.
Keep the boxes open and stacked, so air can get in and do its thing. This step is crucial to a happy laminate floor afterward.
Step 2: Prepare the Subfloor
Dust and debris should be removed from the surface, and the subfloor should be inspected. To enhance other factors, laminate flooring should be laid on a flat and smooth subfloor.
When addressing subfloor imperfections, check for moisture levels. Ensure they are no higher than 12% on a Protimeter prong test scale or 45-65% on a hygrometer scale.
A clean, smooth, and dry surface is the way to a solid foundation for your new laminate floor adventure.
Step 3: Test the Flooring Layout
Planks should be arranged side by side across the room from one end to the other. It will give you a feel of how they will fit in the room. Instead of wasting time measuring and calculating the floor layout
Do not lock the side joints together, and do not walk on the flooring. It creates a lock that may be difficult to undo and may damage the edges.
This step is all about making sure you like the look and feel of how the planks come together.
Step 4: Lay Down the Underlayment
You can skip this step if you already have laminate flooring with built-in underlayment.
Underlayment is a thin and dense foam design. It absorbs sound and keeps laminate flooring warm. It acts as a bridge between laminate flooring and the subfloor layer underneath.
The padding should be positioned so that the edges meet exactly and do not overlap.
If the edges overlap, trim the underlayment with a utility knife. The seams were then sealed with tape.
After that, you’ve set the stage for a comfy and quiet laminate floor. The underlayment adds that extra layer of comfort to your flooring adventure.
Must See: Cork vs. Foam Underlayment: Which is Right for Me?
Step 5: Laying Down your First Plank
First, lay down your laminate parallel/opposite to the longest wall in the room. Make sure the tongue side is facing the wall, and the groove side is facing out.
- Start by laying a full-size board on the right side and work your way to the left.
- Then, place a ¾-inch spacer between the ends and edges of the board and the wall. When you make sure you follow the manufacturer’s interval limits.
- Repeat the same procedure when laying the second plank until you reach the last one in the row.
Use the large cut plank in the first row, and secure the tongue-and-groove end joints. And leave an expansion gap if the piece is small. Trim the plank to length with a circular saw or jigsaw and use the small cut piece.
Step 6: Plan the Next Rows
Start with longer or shorter planks for the second row. Use the part you cut from the last piece of the first row for cheap use.
In this way, you can create a more stable structure and an attractive pattern arrangement.
Tap the next row of planks securely into the first row using a wooden block to hold the planks in place.
Then, put a hammer in your dominant hand and whack the block firmly to close the gap between the planks. Follow this procedure until you have laid each tile row.
Step 7: Remove Spacers and Install Molding
After you have laid the final row, trim any planks that are not aligned with adjacent rows. To cover the expansion gap between the planks and the wall, install molding.
But do not nail the laminate flooring down. Fill in gaps between trim connections, molding, and the flooring with caulk.
Must See: Laying Laminate Flooring: 13 Common Mistakes to Avoid!
FAQs: Can you Nail Down Laminate Flooring?
Do you staple laminate flooring?
Laminate flooring is a floating floor, it does not need nails or staples. Staples also prevent the floor from moving.
The laminate floor will stick to one place if you staple it.
And when the laminate flooring will expand, it won’t have room to move. The planks on the floor will not be able to contract if the floor contracts and the flooring might break.
Should I glue laminate flooring joints?
Gluing laminate flooring joints is generally unnecessary and can pose risks to the floor’s structural integrity.
Laminate floors are designed to be installed as a floating system, allowing for natural expansion and contraction. Gluing joints restrict this movement, potentially leading to issues like buckling or gaps.
Exceptions may exist for water-resistant laminates or high-traffic commercial spaces. Always adhere to manufacturer guidelines for optimal performance.
How do I keep my laminate floor from moving?
Laminate flooring expands and contracts with temperature and humidity. Since it is a floating floor, it does not need glue, nails, or other forms of attachment.
That is why your laminate floor might move. To prevent this from happening, you can slide a spacer between the wall and the long edge of the plank. With this, the laminate can expand and contract with the environment. Also, the floor will not move.
Laminate floors move when the planks contract, creating gaps between the planks. To fix the gap, you can caulk the laminate floor. The laminate floor will no longer move after caulking.
Read More on Laminate Floors
- Laying Laminate Flooring: 13 Common Mistakes to Avoid!
- Will Acetone Damage the Laminate Floor? (5 Alternatives to Acetone)
- Can You Use Goo Gone on Laminate Flooring? (Explained)
- 9 Best Ways to Keep Rugs From Slipping on Laminate Floors (Must-Try!)
- 7 Best Ways to Fix Peeling Laminate Floor (Must-Try!)