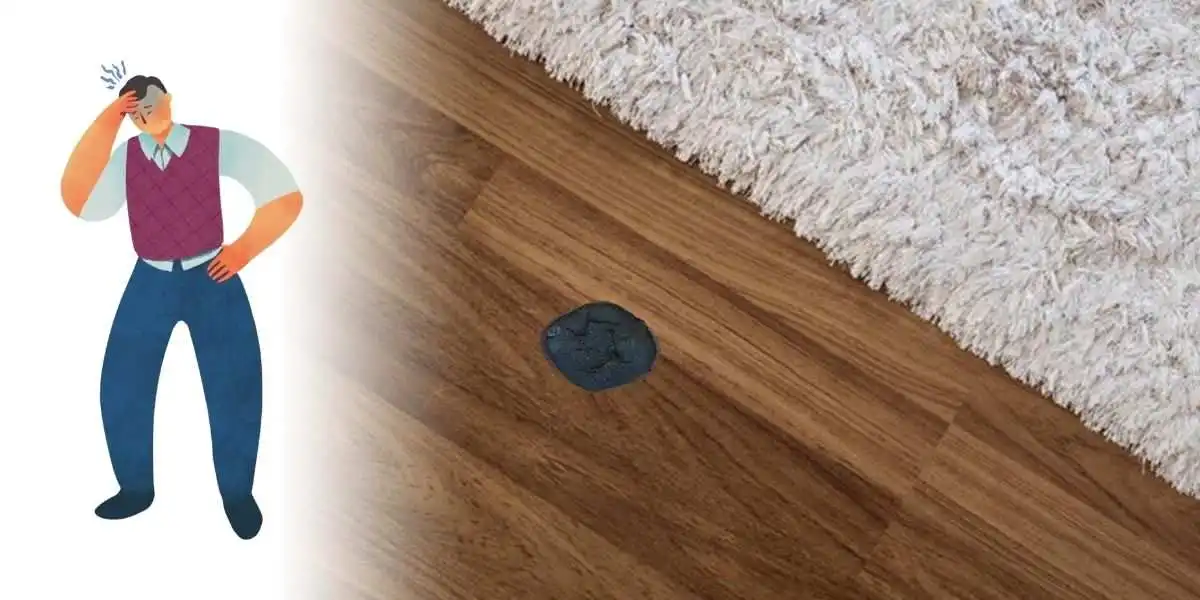
We’ve all been there – one moment of distraction and suddenly, there it is, a pesky burn mark on our vinyl flooring.
Whether it’s from a dropped hot pan or an accidentally misplaced iron. These marks can be an eyesore and a constant reminder of a little mishap.
The good news is that removing burn marks from vinyl flooring is not as complicated as it might seem. I can say this from personal experience, having dealt with a stubborn burn mark in my own home.
In this blog post, I’ll share some straightforward ways how to get rid of those unwanted burn marks.
No need for fancy equipment or professional help – just a few simple steps to restore your vinyl flooring to its former glory. So, let’s roll up our sleeves and get ready to tackle those unsightly burn marks head-on!
Best Ways to Remove Burn Marks From Vinyl Floor
Make use of Sandpaper
Removing sallow burn marks is a simple method. You only need a few items to erase the burnt mark.
The first step is to clean your vinyl flooring. Then, take a piece of sandpaper, preferably something with a very fine grain. And rub the burned area circularly.
Lastly, when you’re done sanding, it may look flat or duller than the rest of your floor. To fix this, use a car waxing kit with a microfiber cloth to rub it on; you should not notice any difference.
Using Baking Soda
Light burn marks on luxury vinyl floors are usually possible to remove with a mop and wipe. But, if mopping and wiping does not work, you can apply a baking soda paste to remove them entirely.
Here are the steps necessary to remove burn marks from the vinyl floor:
- First, take 2 tablespoons of warm water and mix it with 1 tablespoon of baking soda in a small container.
- Then apply the paste using a washcloth and scrub in a circular motion to remove the burn marks.
- Lastly, wipe the area with a damp washcloth. In case the stain has not been removed, repeat the process until the burn marks have disappeared.
Using a Vinyl Repair Kit
If the burn marks are not too dense, you can repair them with vinyl repair kits.
You can quickly get a vinyl repair kit at any home improvement store with a sample of your flooring. Choose a kit with many color options to match your flooring color as closely as possible.
Using that color chart, locate the closest color and mix them. Next, apply a generous amount of the mixed color and gently wipe away any excess color.
The vinyl repair kit is a convenient and easy way to remove burn marks. The only downside is that the colors fade when you mop the floor, so you must repeat the entire process.
Using a Hard Wax
The best way to remove and repair burnt marks from a floor is to use hard wax to fill the burnt hole. As wax fillers are ready to use once set, they’re very convenient. There’s no need to worry about drying, setting, or curing.
Waxing vinyl flooring is more permanent than vinyl repair kits. But other than that, they are pretty similar.
First, dig out the damaged area with a knife and clean it. Then apply wax using your soldering iron. It is essential to use wax of the closest color to your flooring. After the wax has cooled, remove it with a spatula and smooth the surface.
Paint the wax surface with the same structure as your flooring to achieve the most aesthetic finish.
Replace the Vinyl Plank
Lastly, replacing your vinyl floor is the only way to remove significant burn marks.
Although replacing planks in the middle of the floor is not easy, I have simplified the process in the following steps.
But, if you have no experience with DIY and don’t have the right tools, you should consult an expert. Since you might ruin your entire room’s flooring.
Steps to replace a damaged flooring board in the middle of the floor:
- First, identify the damaged board and outline it with tape near it.
- Then gauge the plank’s thickness and cut a cross in that damaged plank using your saw.
- Afterward, grab the new board and place it in the gap. Then make any necessary adjustments so that you can place the new board perfectly.
- Then apply thick glue to the subfloor and lay the new plank, wiping off any excess glue afterward.
- To make the floor flat, place some heavy objects. Like a bucket of water, over the laid plank for at least 12 hours.
Read More on Vinyl Floors
- How to Clean Shaw Vinyl Plank Flooring? (Beginners Guide)
- Can Mold Grow Under Vinyl Plank Flooring? (Answered)
- Can you Caulk Around Vinyl Flooring? (All You Need to Know!)
- 5 Reasons Why Your Vinyl Plank Floor Buckling (Guide To Fix It)
- How to Remove Sticky Residue from Vinyl Flooring? (Full Guide)